

Few things in baking beat a loaf of Vienna Bread fresh from the oven. The crust crackles. The crumb is soft and white. The kitchen fills with a warm, yeasty smell that brings people through the door. Chris from The Irish Baker Abroad has been making this classic white loaf for years, and in this video he shares every step of his method — from mixing the dough to achieving that perfect crackly finish.
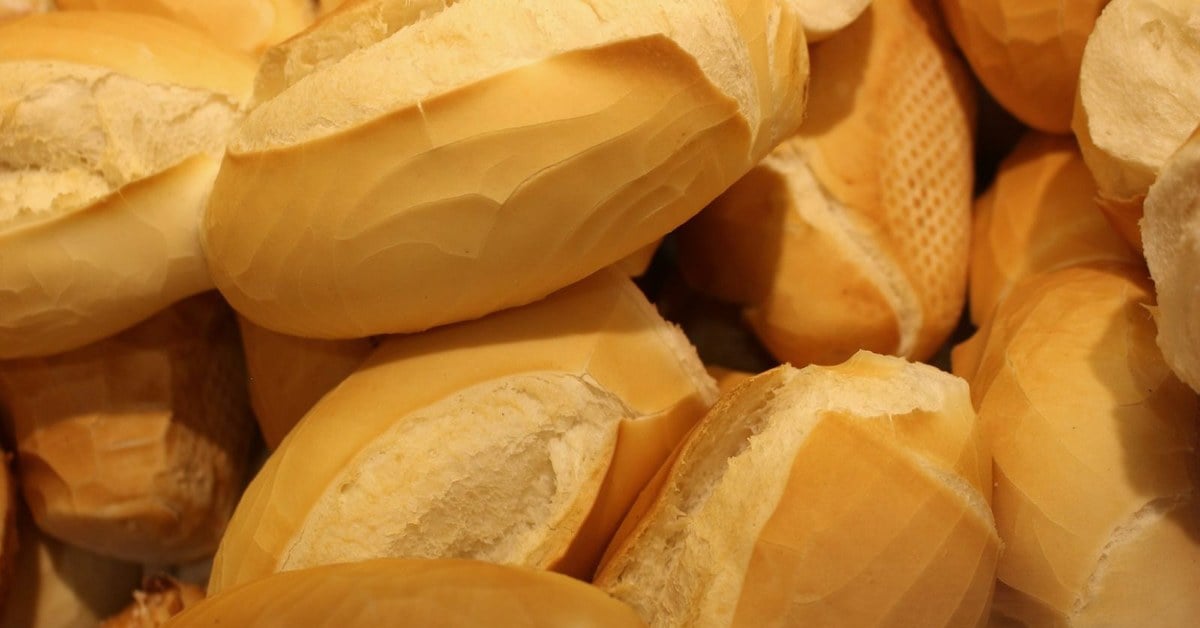
Vienna Bread sits between a rich brioche and a lean baguette. Butter and egg enrich the dough. The result is a loaf with a tender crumb and a crust that is properly golden and crackly. You will find this style of bread in good Irish and European bakeries — the kind you slice thick and eat warm with plenty of butter.
What Makes Vienna Bread Special
Vienna Bread is an enriched white loaf. The dough contains butter and egg alongside flour, water, and yeast. That enrichment changes everything. The crumb becomes softer and more tender. The crust develops a deeper colour. The flavour is richer than a plain white tin loaf.
Chris bakes his loaf using the steam method. He pours boiling water into a hot tray at the base of the oven at the start of baking. The steam prevents the crust from setting too quickly. The loaf can expand fully. Then the steam is removed, and the crust finishes dry and properly crisp.
The bread pairs brilliantly with any topping — from traditional Irish butter to smoked salmon, strong cheddar, or a good homemade jam. It also makes outstanding toast. And it is a beautiful companion to a rich Irish stew on a cold day.
Ingredients
- 150 ml warm water
- 150 ml warm milk
- 35 g fresh yeast (or 12 g dried yeast)
- 550 g strong bread flour
- 1 tsp salt
- 2 tsp sugar
- 1 egg
- 50 g soft butter
Chris uses a stand mixer with a dough hook for this recipe. You can make the bread by hand, but the long kneading time makes a mixer worthwhile. Strong bread flour — not plain flour — gives the dough the protein structure it needs to hold the gas bubbles from the yeast. That is what creates the airy, open crumb.
Step-by-Step Method
Step 1 — Warm the liquids
Combine 150 ml of water and 150 ml of milk. Warm in the microwave for about 40 seconds. The liquid should feel warm — not hot. Pour into the bowl of your stand mixer.
Step 2 — Add the yeast
Crumble in the fresh yeast. Stir gently. If using dried yeast, sprinkle it over the warm liquid instead.
Step 3 — Add remaining ingredients
Add the flour, salt, sugar, egg, and soft butter. Fit the dough hook to the mixer.
Step 4 — Initial mix
Start on low speed. Mix for 2 minutes. The dough will look rough and sticky at first. Keep going. The flour absorbs the liquid as mixing continues.
Step 5 — Knead the dough
Increase to medium speed. Knead for 11 minutes. Then increase to high speed. Knead for 2 more minutes. Scrape the bowl. The dough should be smooth and elastic.
Step 6 — First prove
Flour your work surface lightly. Turn the dough out. Stretch the sides and fold them to the centre. Turn and repeat. Roll into a smooth ball. Dust with flour. Cover with a tea towel and a plastic bag. Leave for 30–40 minutes until doubled in size.
Step 7 — Second prove
Knock back the dough. Repeat the folding and shaping. Cover again. Leave for 15–20 more minutes.
Step 8 — Preheat the oven
Preheat your oven to 250°C (fan off). Place a baking steel or heavy tray on the centre rack. Place an empty cold tray on the bottom rack. Preheat for 45–60 minutes. This long preheat is essential — a very hot surface gives the bread its oven spring.
Step 9 — Shape the loaf
Flatten the dough gently. Roll it from one end, pulling back slightly as you roll to create tension. Form a compact log. Press the ends to seal. Place on baking parchment.
Step 10 — Score the top
Make 3–5 shallow diagonal cuts across the top using a sharp knife. These allow the bread to expand cleanly during baking.
Step 11 — Bake with steam
Slide the loaf onto the hot baking surface. Pour boiling water into the cold tray on the bottom rack. Close the oven door immediately. Bake at 250°C for 10 minutes.
Step 12 — Finish baking
Lower the oven to 220°C. Bake for 10 more minutes. Remove the steam tray. Continue at 220°C for a final 15 minutes to develop the crust.
Step 13 — Final crispness
Turn the oven off. Leave the bread inside for 5 more minutes. The residual heat makes the crust wonderfully crackly. Transfer to a wire rack. Cool fully before slicing.
Tips from Chris
Preheat longer than you think. 45 to 60 minutes for the baking steel is not excessive. A properly hot surface gives the bread an immediate boost the moment it lands in the oven.
Steam is not optional. The boiling water creates the humid environment the dough needs in the first 10 minutes. Without it, the crust sets early, the loaf does not rise fully, and the bread looks flat and dull.
Do the second shaping. After the first prove, the second shaping tightens the dough. It builds tension in the outer surface. That tension gives the final loaf its shape and rise.
Fresh or dried yeast both work. Use whichever you have. The technique stays the same.
Watch Chris Make Vienna Bread
In this video, Chris walks through every stage — from mixing to the final crackly loaf. You can see exactly how he shapes the dough and how much steam he uses. If you are new to bread baking, watching this before you start will save you a lot of guesswork.
☘️ You Might Also Love
☘️ Join 65,000+ Ireland Lovers
Every Friday, get Ireland’s hidden gems, local secrets, and travel inspiration — the kind you won’t find in any guidebook.
Subscribe free — enter your email:
Already subscribed? Download your free Ireland guide (PDF)
Love more? Join 43,000 Scotland lovers → · Join 30,000 Italy lovers → · Join 7,000 France lovers →
Free forever · · Unsubscribe anytime
Serving Suggestions
Vienna Bread is best eaten warm or at room temperature on the day it is baked. The crust is at its most crackly in the first few hours. After that it softens slightly, but the crumb stays tender for a day or two.
Try it with good Irish butter and a cup of tea. It works beautifully alongside soup. Slice it thick and toast it for scrambled eggs. For more of Chris’s baking, his Irish cream doughnuts and Bakewell tart are both brilliant. And if you want another white loaf recipe, his Dublin Turnover Bread is made without kneading at all — a great choice for beginners.
Frequently Asked Questions
Can I make Vienna Bread without a stand mixer?
Yes. Knead by hand for 15–20 minutes to develop the gluten. The dough is ready when it feels smooth and springs back when you poke it.
Why does Vienna Bread need steam during baking?
Steam keeps the outer surface of the dough moist in the first stage of baking. The loaf can expand freely before the crust sets. The result is better oven spring, a thinner crust, and a more golden colour.
What is the difference between Vienna Bread and a baguette?
Vienna Bread contains butter and egg, making the crumb softer and more tender. A baguette uses only flour, water, yeast, and salt, giving a chewier crumb and a crispier, thinner crust.
How do I store Vienna Bread?
Store at room temperature in a cloth or paper bag for up to two days. Avoid plastic bags — they trap moisture and soften the crust too quickly. For longer storage, slice and freeze, then toast from frozen.
There is something deeply satisfying about pulling a golden, crackly loaf from a hot oven. Vienna Bread rewards a bit of patience — the long preheat, the two proves, the careful shaping — but the result is a loaf that would not look out of place in any bakery window in Ireland. Give it a go and let us know how yours turns out.
Tours & experiences you might love


Powered by Viator. Some links are affiliate links — we may earn a small commission at no extra cost to you.
Secure Your Dream Irish Experience Before It’s Gone!
Planning a trip to Ireland? Don’t let sold-out tours or packed attractions spoil your journey. Iconic experiences like visiting the Cliffs of Moher, exploring the Rock of Cashel, or enjoying a guided walk through Ireland’s ancient past often sell out quickly—especially during peak travel seasons.

Booking in advance guarantees your place and ensures you can fully immerse yourself in the rich culture and breathtaking scenery without stress or disappointment. You’ll also free up time to explore Ireland’s hidden gems and savour those authentic moments that make your trip truly special.
Make the most of your journey—start planning today and secure those must-do experiences before they’re gone!