

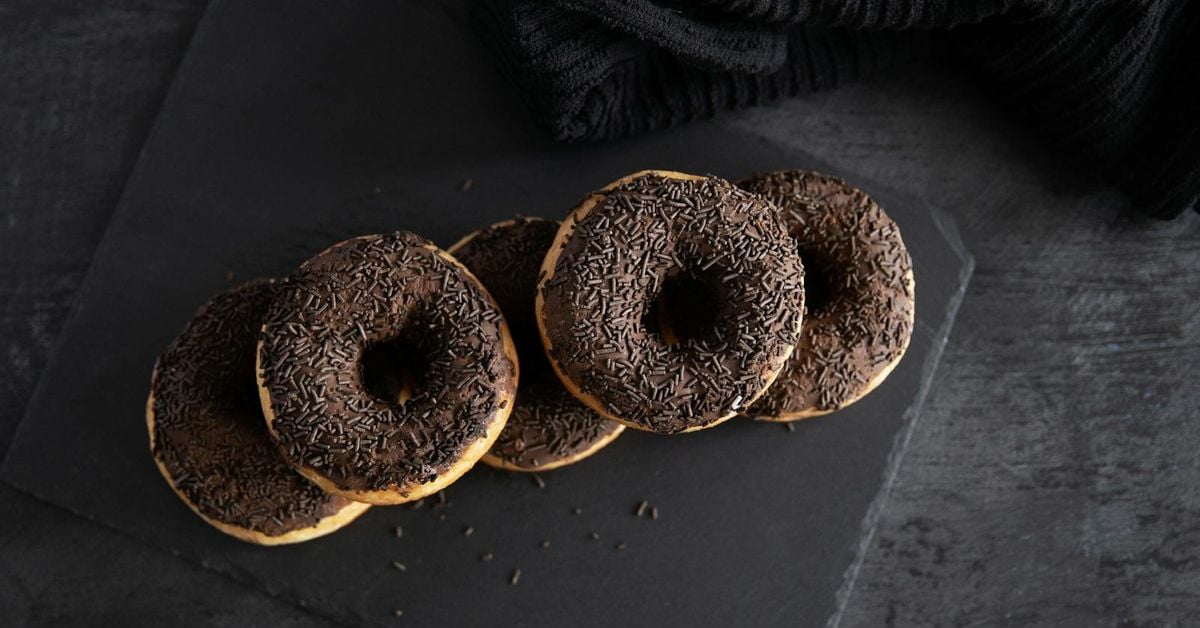
There is something special about a homemade ring doughnut. Light. Pillowy. Dipped in dark chocolate. These are the kind of treats that make a weekend morning feel like a celebration. Chris from The Irish Baker Abroad has created a no-knead version that any home baker can manage. No stand mixer. No dough hook. Just a bowl, a wooden spoon, and a little patience. The result is 10 to 12 golden, chocolate-glazed ring doughnuts — every bit as good as the best bakery version.

Why the No-Knead Technique Changes Everything
Traditional ring doughnuts demand effort. You knead the dough for ten minutes or more. You work the gluten by hand until the dough becomes smooth and elastic. That process works — but it puts many home bakers off before they even begin.
Chris takes a smarter approach. He skips the kneading entirely. A slow rise does the work instead. The dough ferments quietly in the bowl. Gluten develops on its own. By the time the first rise is done, the dough has structure, flavour, and a beautiful open texture.
The parchment paper trick is the other key detail. Chris places each shaped doughnut on its own small square of baking parchment before the second rise. When you lower them into the hot oil, the paper releases cleanly within seconds. The doughnuts hold their shape perfectly. They do not deflate. They do not tear. It is a simple technique — and it makes a real difference to the final result.
This kind of honest, practical baking is what Irish home kitchens have always done well. Like a good treacle scone, these doughnuts do not require fancy equipment or specialist skills. They require care, good timing, and a thermometer for the oil.
No-Knead Chocolate Ring Doughnuts — Full Recipe
Ingredients
For the Dough
- 200ml lukewarm water
- 6g dry yeast
- 60g caster sugar
- 60g butter, melted
- 1 tsp salt
- 2 eggs, beaten
- 500g plain flour
- Vegetable oil, for deep frying
For the Glaze
- 100g semi-sweet chocolate, melted
- 100g milk chocolate, melted
Method
This recipe makes 10 to 12 large ring doughnuts. Allow 2.5 to 3 hours from start to finish. Most of that time is resting and rising — you are not actively working for long.
Step 1 — Mix the Wet Ingredients
Pour the lukewarm water into a large mixing bowl. Add the yeast and sugar. Stir gently. Add the melted butter, salt, and beaten eggs. Mix until everything is combined and the yeast has dissolved.
Step 2 — Add the Flour
Tip in the plain flour. Stir with a wooden spoon until a shaggy, sticky dough forms. Stop there. Do not knead. The dough will look rough and uneven. That is exactly right.
Step 3 — First Rise
Cover the bowl tightly with cling film or a clean, damp tea towel. Place it in a warm spot. Leave it undisturbed until the dough has doubled in size. This takes between 1 and 1.5 hours. A warm kitchen speeds things up. A cool kitchen slows them down.
Step 4 — Fold and Rest
Turn the risen dough out onto a lightly floured surface. Fold it gently four or five times. It will feel soft and slightly tacky. Do not worry. Cover it loosely with a tea towel. Let it rest for 15 minutes. This rest relaxes the gluten. The dough becomes easier to roll without springing back.
Step 5 — Roll and Cut
Flour your surface lightly. Roll the dough to 1.5cm thickness. Use a 9cm round cutter to stamp out circles. Then use a smaller cutter — about 3cm — to remove the centre from each circle. You now have your ring doughnuts. Keep the small cut-out pieces. Fry those as doughnut holes.
Step 6 — Second Rise
Cut small squares of baking parchment — one per doughnut. Place each ring on its own square. Space them on a baking tray. Cover loosely and leave to rise for 30 minutes. They should look puffy and noticeably larger when ready.
Step 7 — Fry the Doughnuts
Pour enough vegetable oil into a deep, heavy pan to submerge the doughnuts. Heat the oil to 180°C. Use a kitchen thermometer — temperature control matters here. Too hot and the outside burns. Too cool and the doughnuts absorb too much oil and turn greasy.
Pick up each doughnut on its parchment square. Lower it gently into the hot oil. The paper releases on its own within a few seconds. Use tongs to pull it out. Fry for 1 to 2 minutes per side until deep golden brown. Lift each doughnut out with a slotted spoon. Drain on kitchen paper. Let the oil return to 180°C between each batch.
Step 8 — Glaze with Chocolate
Melt the semi-sweet chocolate in a heatproof bowl over a pan of barely simmering water. Do the same with the milk chocolate in a separate bowl. Dip the top of each warm doughnut into the semi-sweet chocolate. Set it on a wire rack. Drizzle the milk chocolate over the top in a thin zigzag. Leave to firm up for 10 to 15 minutes before serving.
Tips from the Video
Chris shares several practical tips throughout the video. Follow these closely for the best result.
- Use a thermometer. 180°C is the target for frying. Guessing leads to greasy or burnt doughnuts. A cheap kitchen thermometer is worth every penny.
- The parchment squares are essential. They allow you to move the doughnuts without deflating them. Do not skip this step.
- Rest the dough after folding. The 15-minute rest makes the dough softer and more cooperative. Rushing it makes rolling difficult.
- Keep the thickness at 1.5cm. Thinner doughnuts lose their shape during the second rise and in the oil. Err on the thicker side.
- Fry the doughnut holes too. Roll them in caster sugar while still warm. They are some people’s favourite part of the whole batch.
Variations and Serving Ideas
The chocolate glaze is the classic finish — but this dough works beautifully with other coatings. Try a simple white icing made from icing sugar and a splash of milk. Or roll the warm doughnuts in cinnamon sugar the moment they come out of the oil. For something richer, a salted caramel drizzle over the chocolate glaze is worth trying.
These doughnuts are best on the day they are made. The fried dough stays light for a few hours before the texture begins to change. If you want to prepare ahead, make the dough the night before. Refrigerate it after the first rise, covered tightly. Take it out the next morning. Let it come to room temperature for 30 minutes. Then roll, cut, and fry as normal.
If you enjoy pastry work, try Chris’s recipe for classic choux pastry and éclairs — another traditional treat that rewards patience. And if you are looking for something lighter on a warm day, his no-bake lemon cheesecake needs no oven at all.
Watch the Full Video
Chris walks through every stage in the video below. It is especially worth watching the moment he lowers the doughnuts into the oil on their parchment squares — seeing the paper release cleanly makes the technique click immediately.
☘️ Join 64,000+ Ireland Lovers
Every Friday, get Ireland’s hidden gems, local secrets, and travel inspiration — the kind you won’t find in any guidebook.
Subscribe free — enter your email:
Already subscribed? Download your free Ireland guide (PDF)
Love more? Join 43,000 Scotland lovers → · Join 30,000 Italy lovers → · Join 7,000 France lovers →
Free forever · · Unsubscribe anytime
Frequently Asked Questions
Can I make the dough the night before?
Yes. After the first rise, cover the bowl tightly and refrigerate the dough overnight. Take it out the next morning. Leave it at room temperature for 30 minutes before you start shaping. Then fold, rest, roll, and cut as normal. The cold dough may take slightly longer to spring back during the second rise — just be patient.
What oil is best for frying doughnuts?
Use a neutral vegetable oil with a high smoke point. Sunflower oil and rapeseed oil both work well. Avoid olive oil — the flavour is too assertive, and the smoke point is too low for deep frying at 180°C. You need enough oil in the pan to fully submerge the doughnuts so they fry evenly on all sides.
Why did my doughnuts turn out dense and greasy?
The most common cause is oil that is too cool. Below 170°C, doughnuts absorb oil rather than fry quickly. They come out heavy and greasy. Always use a thermometer. Allow the oil to return to 180°C between each batch — frying in batches drops the oil temperature, and failing to account for this is a common mistake.
Can I use instant yeast instead of dry yeast?
Yes — use exactly the same quantity (6g). Instant yeast does not need to be dissolved in liquid first. Add it directly to the flour before mixing in the wet ingredients. The rise times remain the same. Both types of yeast will give you a light, well-risen dough.
More Recipes from The Irish Baker Abroad
Chris shares one recipe at a time — always traditional, always achievable, always worth making. His traditional treacle scones are rich and warming. His old-school chocolate éclairs bring back memories of childhood bakeries. Each recipe is rooted in the kind of straightforward, honest baking that Irish kitchens have always done well.
Irish baking has a warmth to it that is hard to pin down. It is food made to be shared — at a kitchen table, with a pot of tea, and no particular hurry. These no-knead ring doughnuts fit that spirit exactly. Make them once on a slow morning and they will become a ritual you return to again and again.
Thinking about it seriously?
If you’ve started actually planning a move, our complete the full Move to Ireland guide walks through every step, every cost, and the paperwork that catches most people out.
Tours & experiences you might love


Powered by Viator. Some links are affiliate links — we may earn a small commission at no extra cost to you.
Secure Your Dream Irish Experience Before It’s Gone!
Planning a trip to Ireland? Don’t let sold-out tours or packed attractions spoil your journey. Iconic experiences like visiting the Cliffs of Moher, exploring the Rock of Cashel, or enjoying a guided walk through Ireland’s ancient past often sell out quickly—especially during peak travel seasons.

Booking in advance guarantees your place and ensures you can fully immerse yourself in the rich culture and breathtaking scenery without stress or disappointment. You’ll also free up time to explore Ireland’s hidden gems and savour those authentic moments that make your trip truly special.
Make the most of your journey—start planning today and secure those must-do experiences before they’re gone!
Subscribe Free